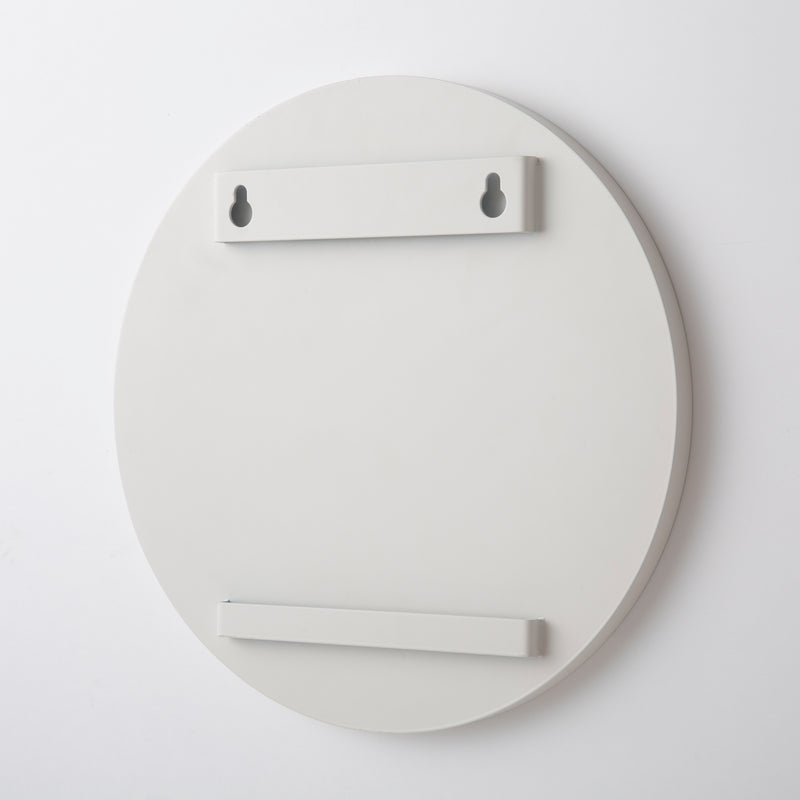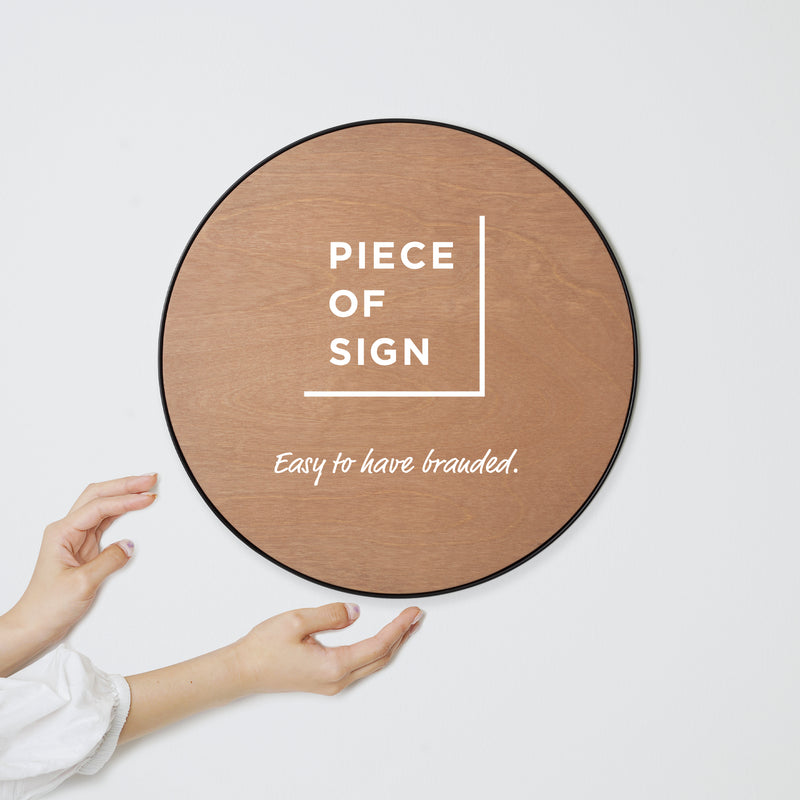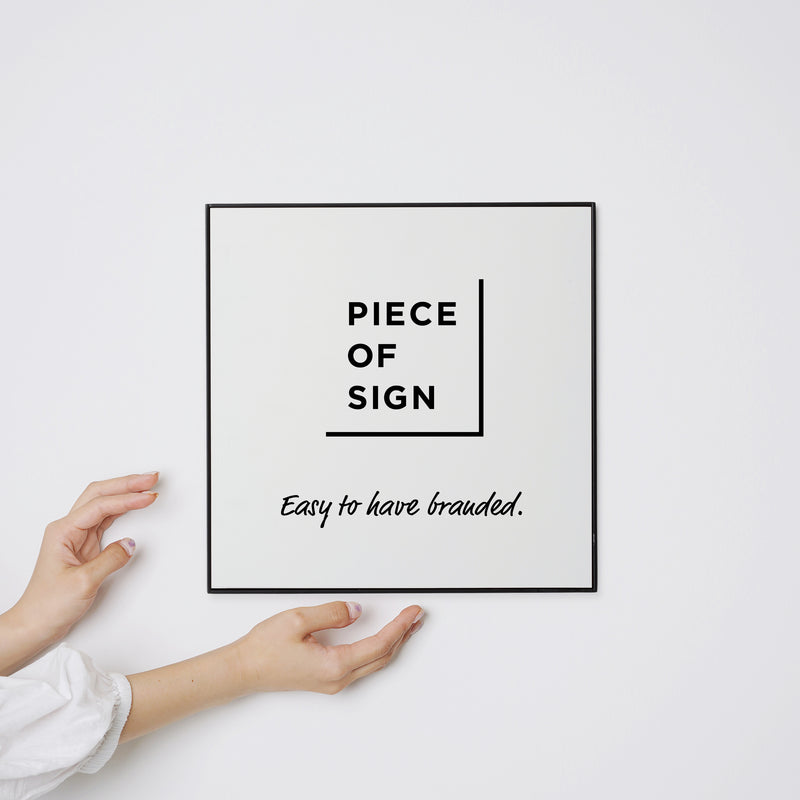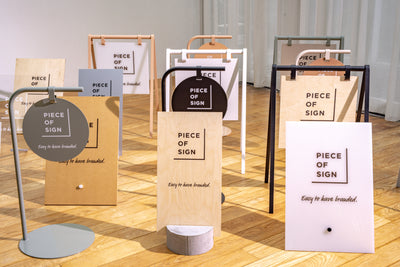

FRAMED FLAT PLATE WALL SIGN
◾️Pre-Installation Precautions
⚠️ Professional Installation Recommended:
Considering wall materials and drilling requirements, installation by a professional contractor is strongly recommended.
(To the Customer)
- For safety, we recommend having a professional contractor perform regular maintenance inspections at least once a year. Over extended use, natural aging and loosening of screws or bolts may occur. To prevent accidents, carry out periodic inspections and repair or replace components if any issues are detected.
(To Professional Contractors)
- Install onto a wall with solid backing/studs.
- For drywall (gypsum board) walls, ensure the unit is securely anchored to the studs or solid substrate behind the wall.
- For concrete walls, drill pilot holes and use appropriate concrete wall plugs (anchors).
- Wall conditions vary. Please choose an installation method that ensures sufficient structural strength.
- Selecting appropriate screws and plugs, as well as verifying the safety of the mounting location, must be determined based on the installer's professional judgment.
⚠️ Precautions for Applying Double-Sided Adhesive Tape
- Apply Firm Pressure: Apply firm, even pressure across the surface after placement (pressure-sensitive adhesive).
- 24-Hour Bonding Period: It takes approximately 24 hours for the tape to achieve its full bonding strength.
- Non-Repositionable: Once applied, the tape cannot be repositioned. Peeling it off will compromise its adhesive performance.
- Low-Temperature Sensitivity: In cold environments, the adhesive tape may not achieve its optimal bonding strength. When installing in low temperatures, gently warm the tape with a hair dryer before application.
■ Package Contents
- Sign Plate (shipped separately from the frame)
- Main Frame
- Screws × 2
- Double-Sided Adhesive Tape × 2 strips
- Acrylic Spacers × 2 (for metal plates only)
*Acrylic spacers are not used for wood plates.
■Assembly & Installation Instructions
【For Metal Plates】
1 . Apply the Acrylic Spacers
Apply the 2 acrylic spacers vertically to the inside of the main frame.
*Pay attention to the orientation of the hanging slots on the back, and check the top and bottom positions before applying.
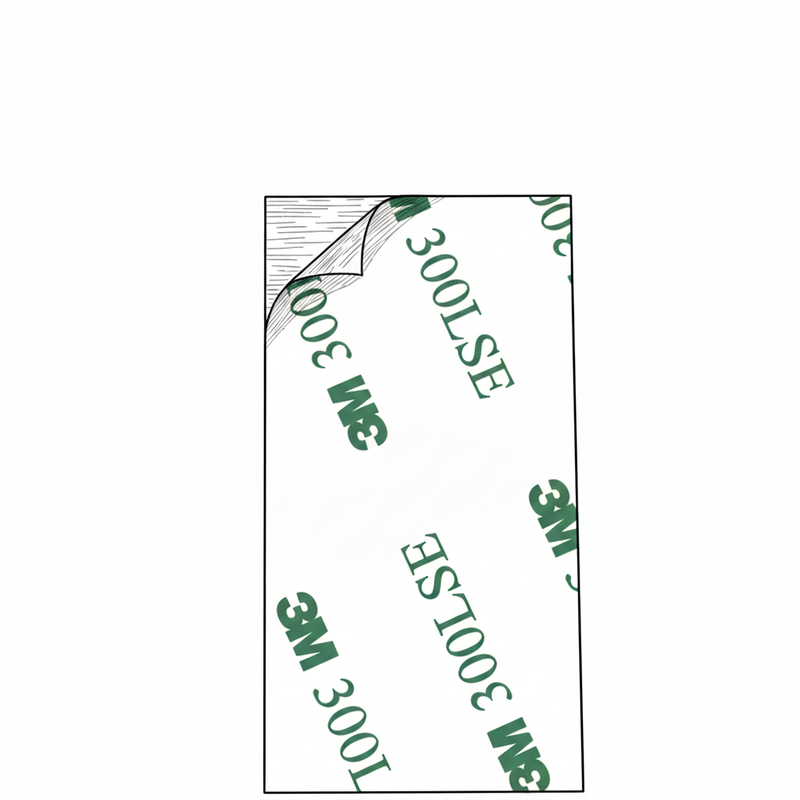
Peel off the release paper from the acrylic spacers and attach the adhesive side to the frame.
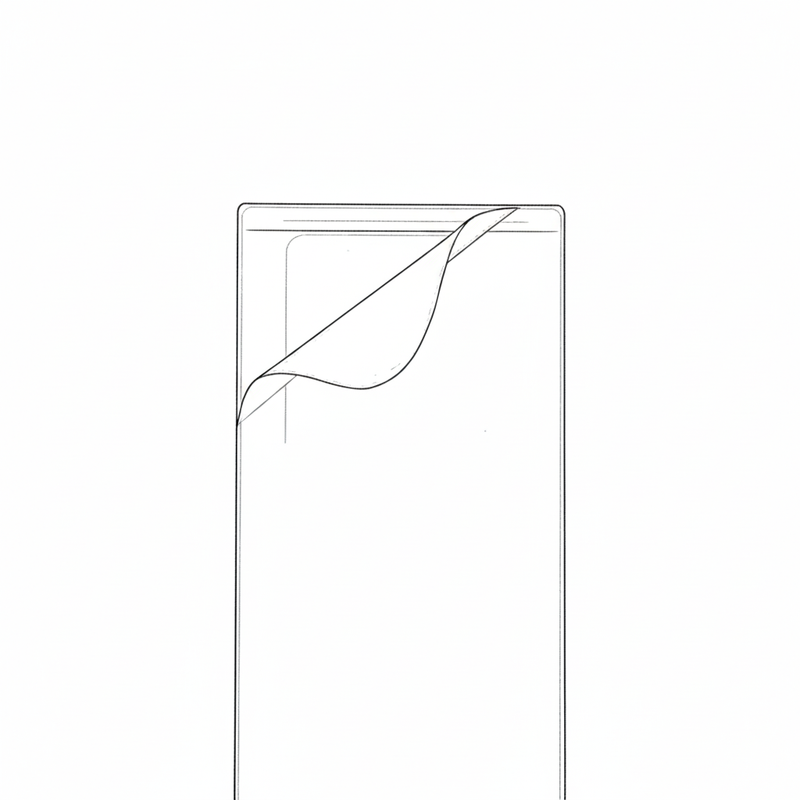
Be sure to also remove the clear protective film from the surface.
2 . Apply the Double-Sided Tape
Peel off the clear protective film from the surface of the acrylic spacers,
then attach the included double-sided tape strips onto the spacers.
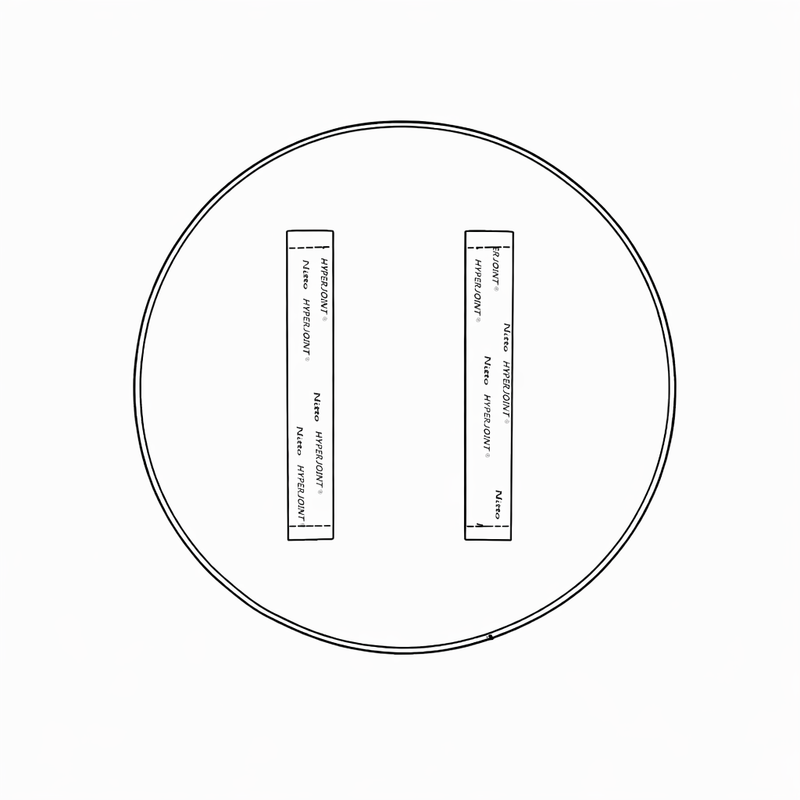
3 . Attach the Sign Plate
Peel off the release paper from the double-sided tape.
Checking the orientation of the hanging slots on the back,
carefully place and press the plate into position so that its corners and edges align flush with the frame.
【For Wood Plates】
1 . Apply the Double
Apply the 2 double-sided tape strips vertically to the inside of the main frame.
*Pay attention to the orientation of the hanging slots on the back, and check the top and bottom positions before applying.
*Acrylic spacers are not used for wood plates.
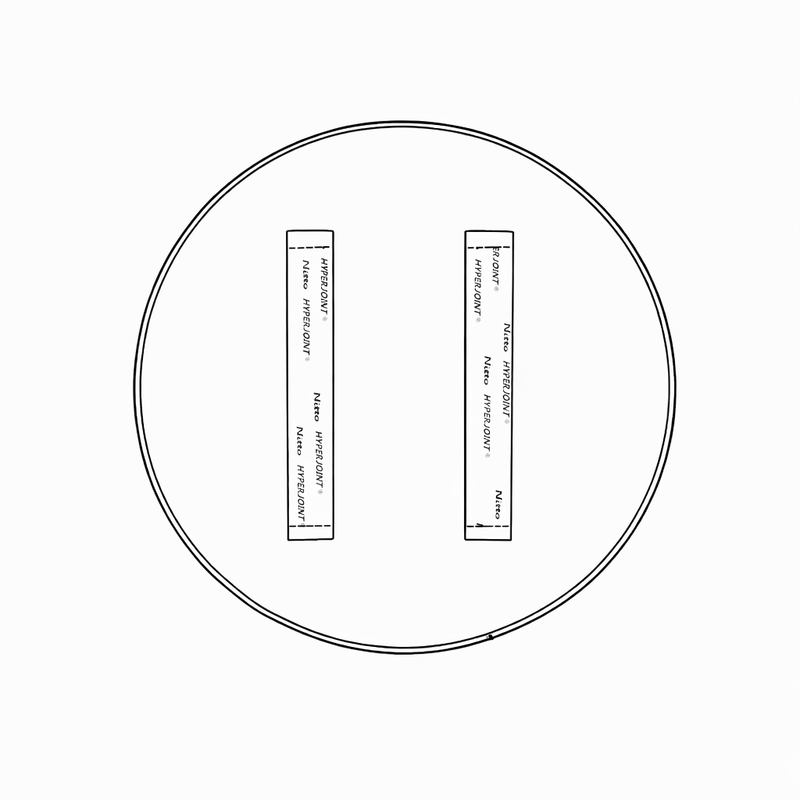
2 . Attach the Sign Plate
Peel off the release paper from the double-sided tape.
Checking the orientation of the hanging slots on the back,
carefully place and press the plate into position so that its corners and edges align flush with the frame.
Wall-Mount Installation
Drive the Screws
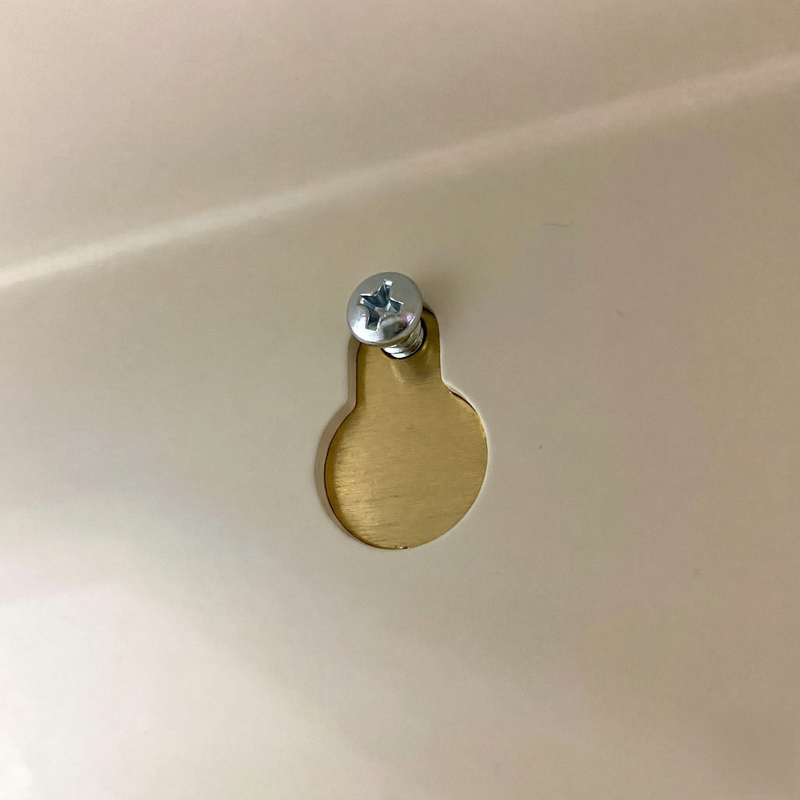
Check that the line is level, then drive 2 screws into a wall with solid backing.
Space the screws to match the mounting holes on the back of the main frame (hole pitch: 160 mm).
Leave a 2–3 mm gap (clearance) between the screw head and the wall surface.
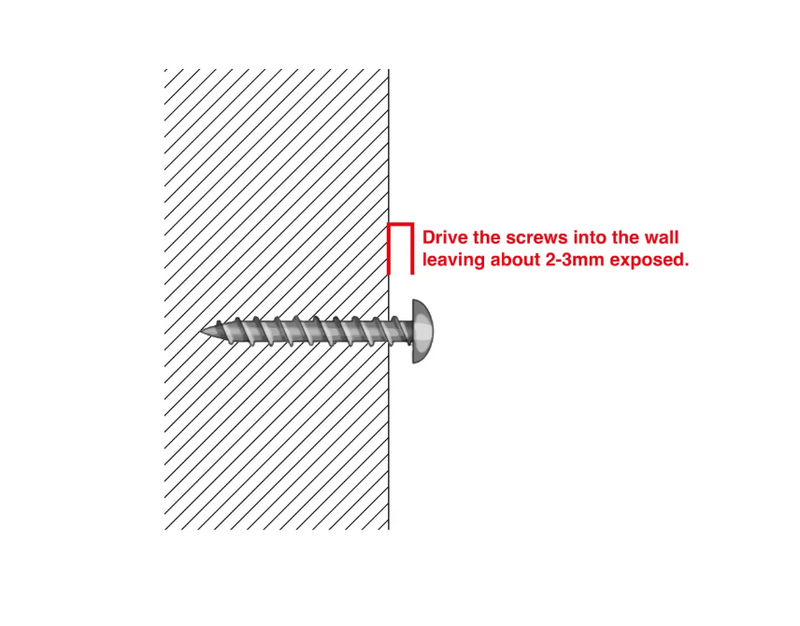

Hang the Main Frame
Confirm that the plate is securely adhered to the main frame,
then hang the mounting holes on the back of the frame onto the protruding screw heads to secure it in place.