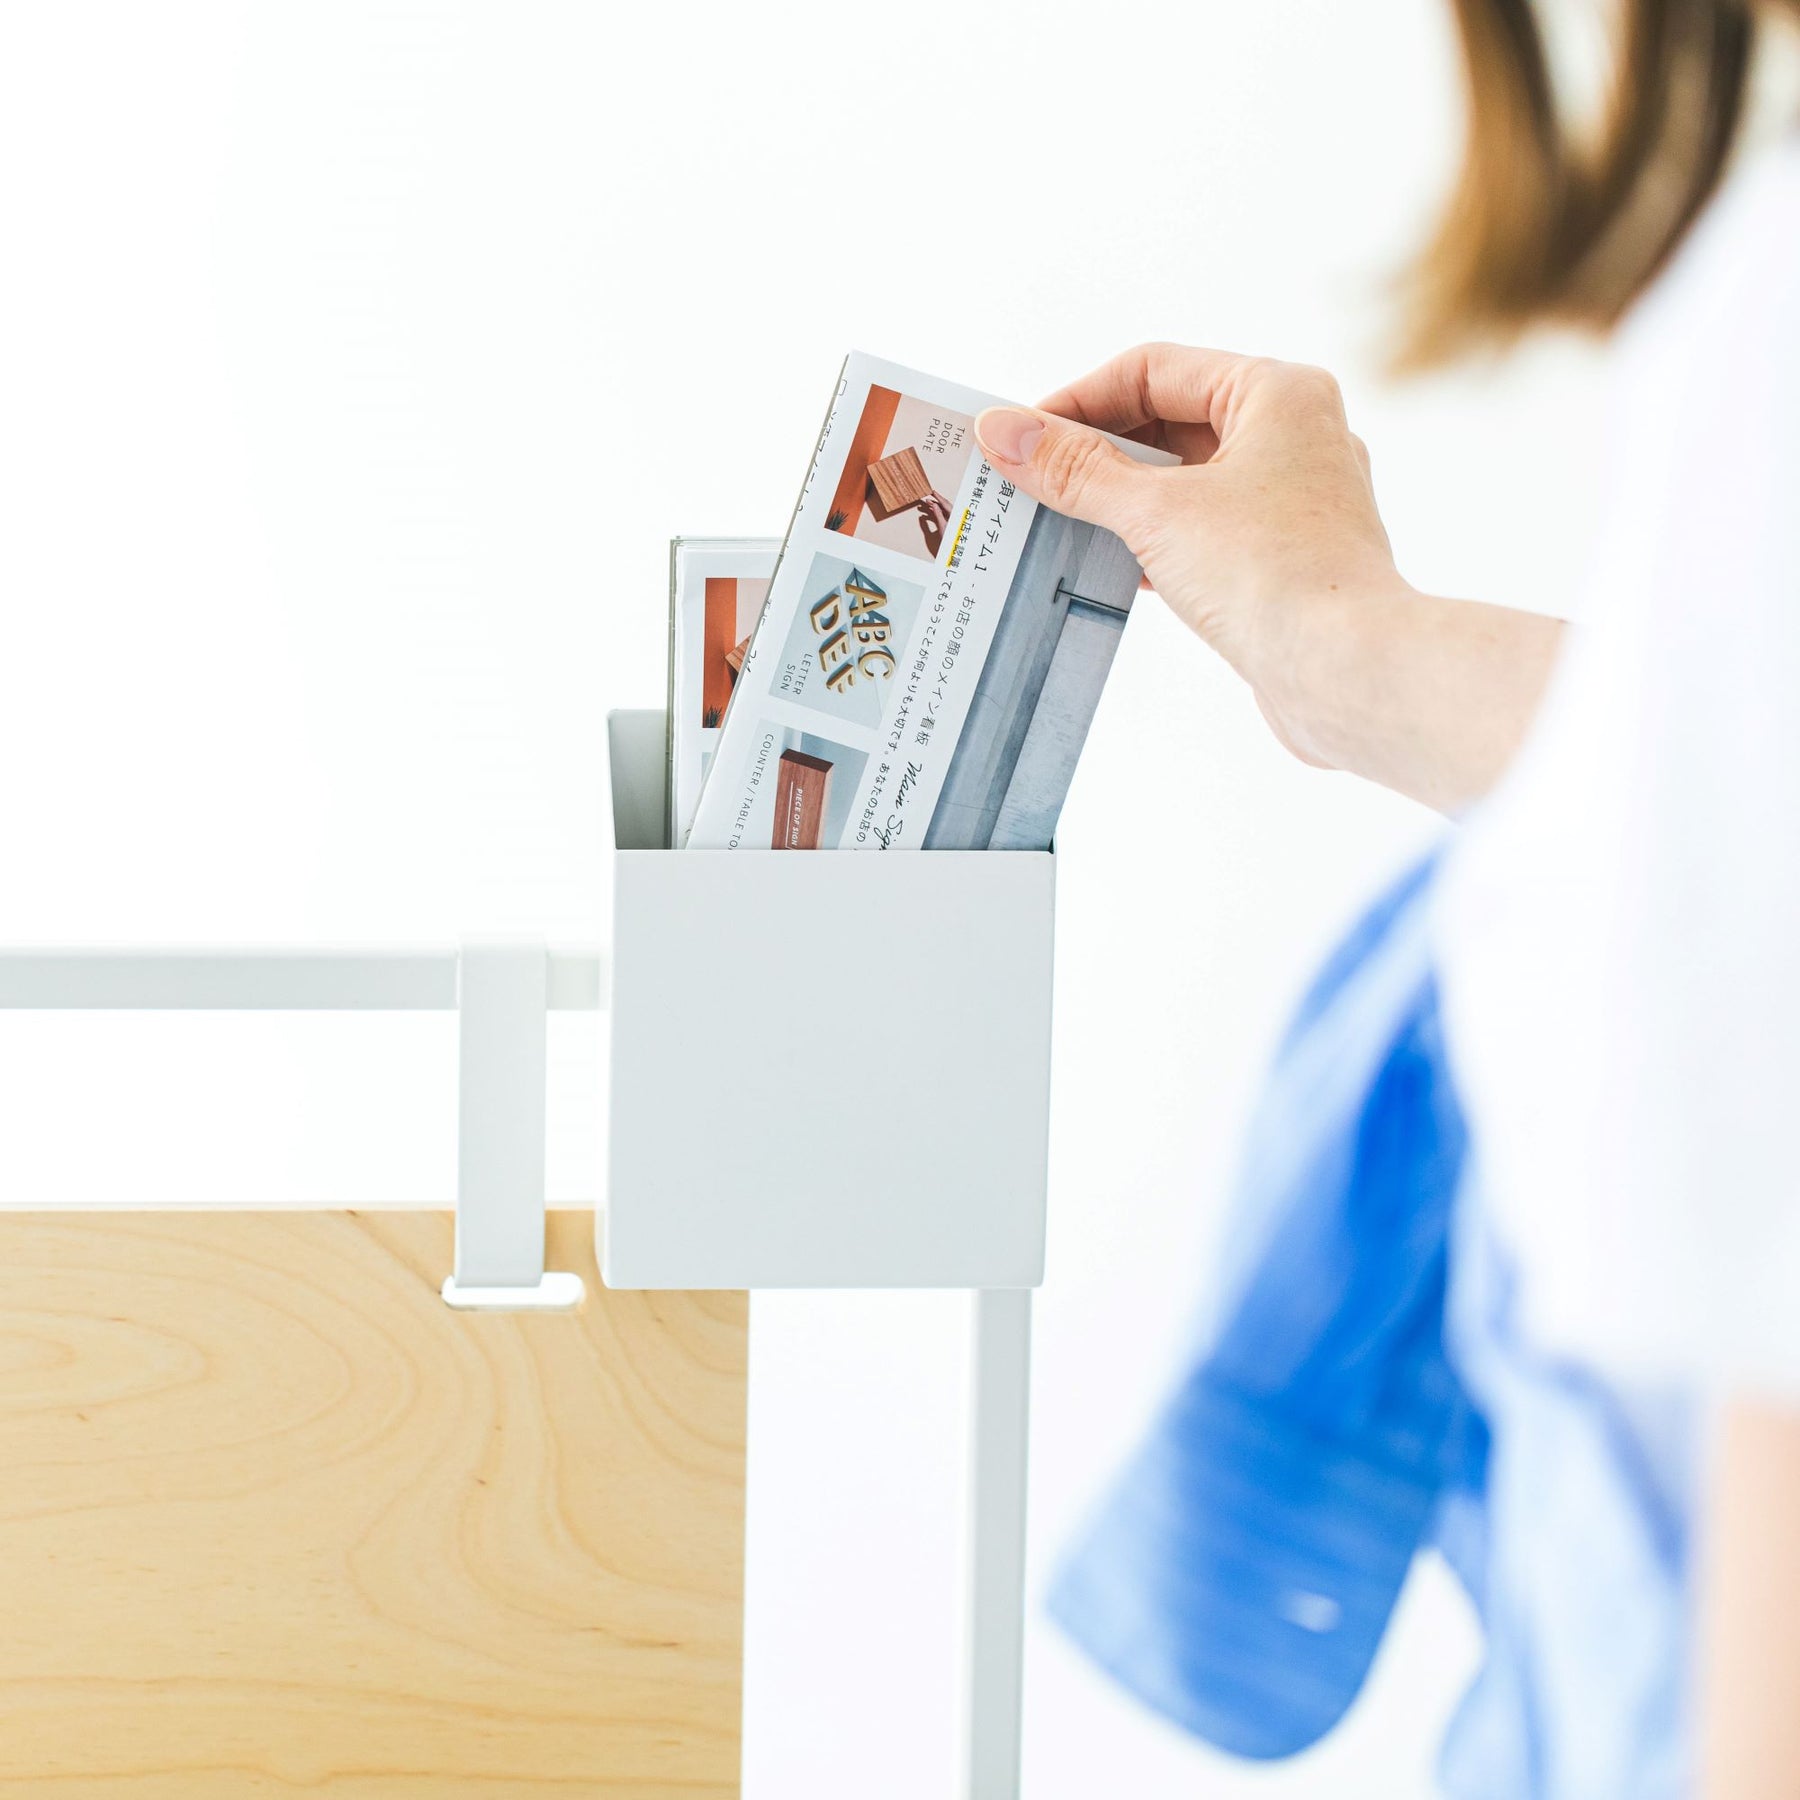
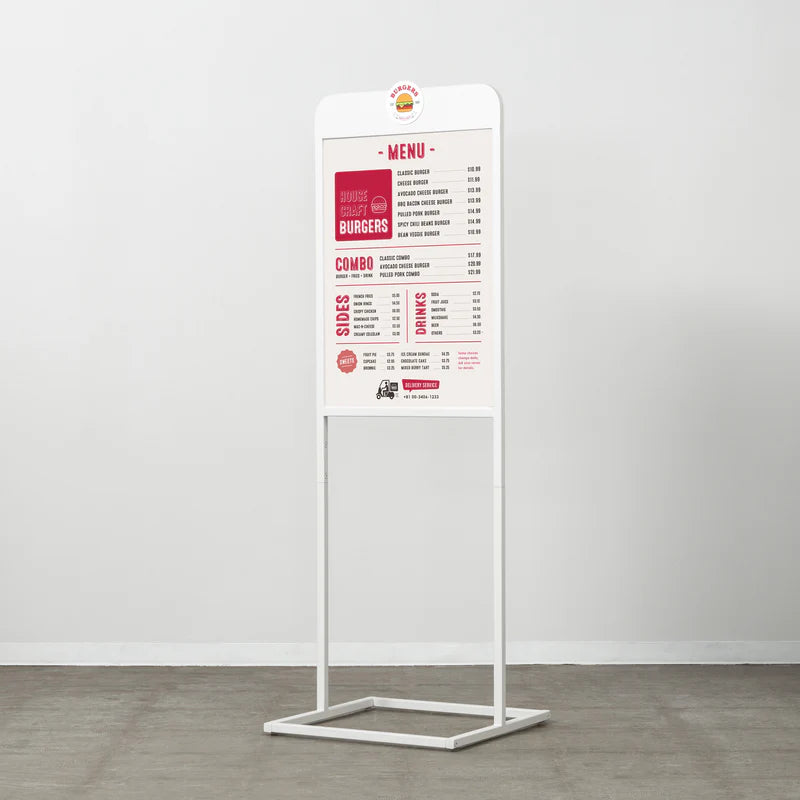
TOWER MAGNETIC STAND SIGN A2
Main Unit
* Frame (Legs ×2 / Connecting Bars ×2 / Top Section ×1)
* Logo Plates ×2
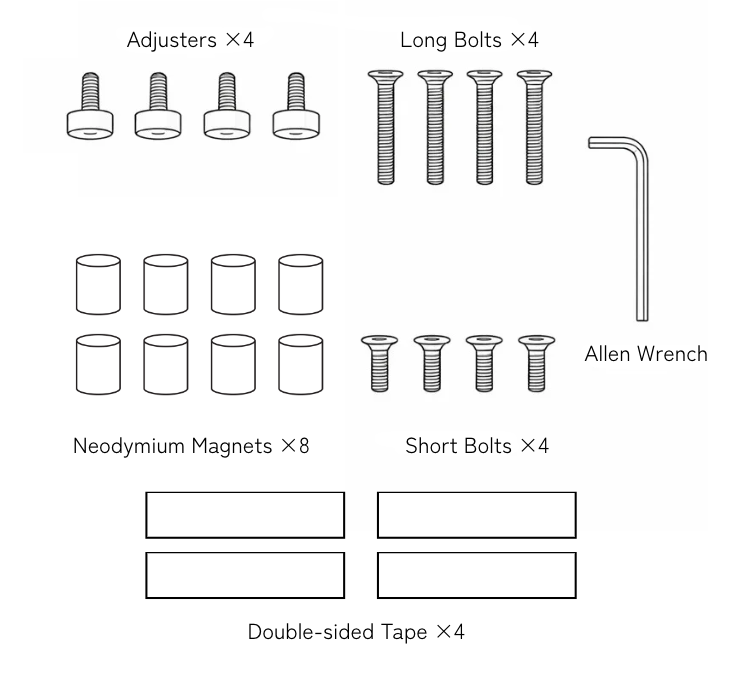
Accessories
* Adjusters ×4
* Long Bolts ×4
* Short Bolts ×4
* Allen Wrench ×1
* Neodymium Magnets ×8
* Double-sided Tape ×4 (Included with logo plates)

Assembly Precautions
When installing the bolts, please lightly hand-tighten them first to loosely hold the parts together.
Once all parts are in place, tighten them securely.
*Note: Tightening the bolts too firmly from the start may cause the stand to warp or the bolt holes to misalign.
Assembly Instructions
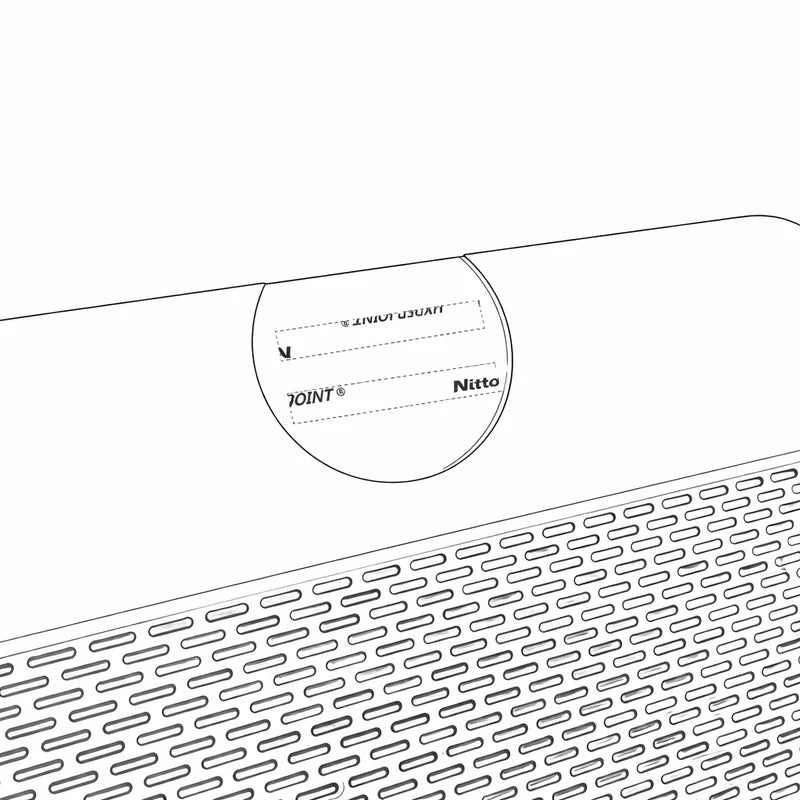
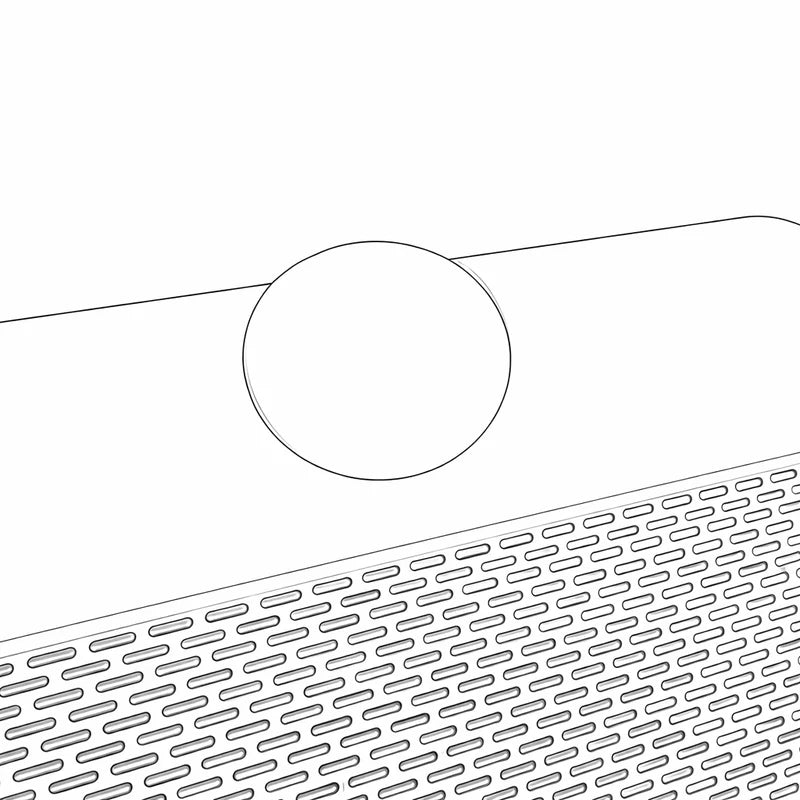
1. Apply two pieces of double-sided tape to the round recesses on the top section, then attach the logo plate.
(Press firmly for about 30 seconds to ensure a secure bond.)
*Note: Attach one logo plate to each side (front and back).
2. Attach the adjusters to the bottom of the two legs (4 locations total).
Insert them into the holes on the bottom and tighten them all the way.
*Note: Please readjust the adjusters for leveling after setting up the stand.
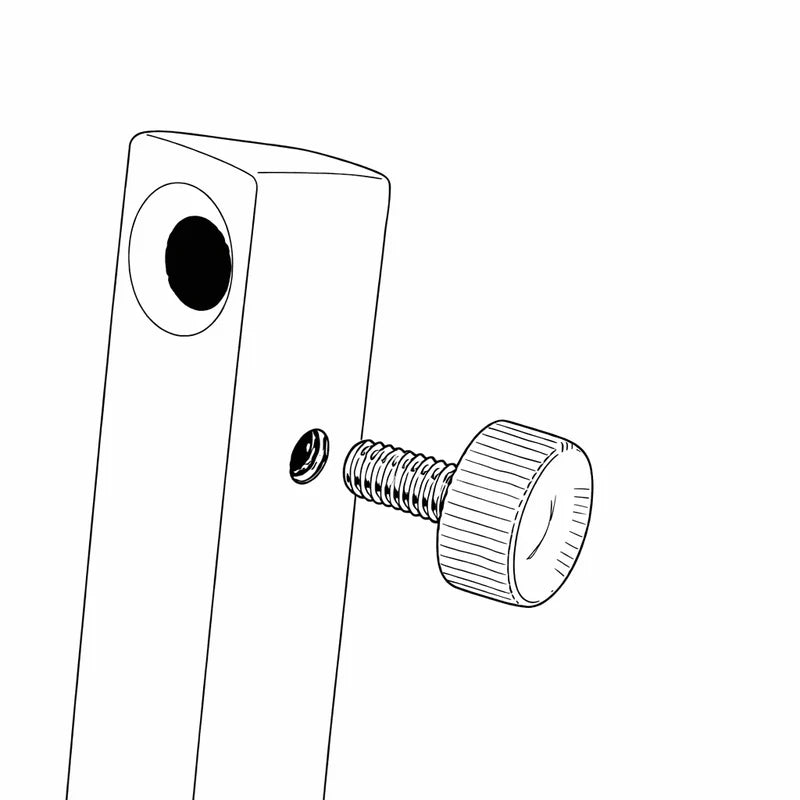
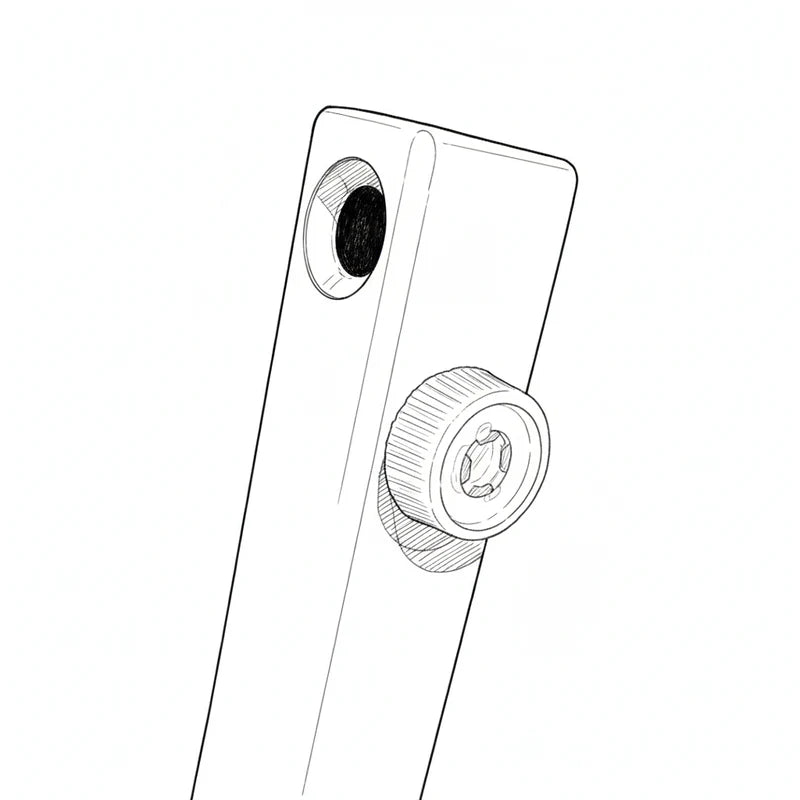
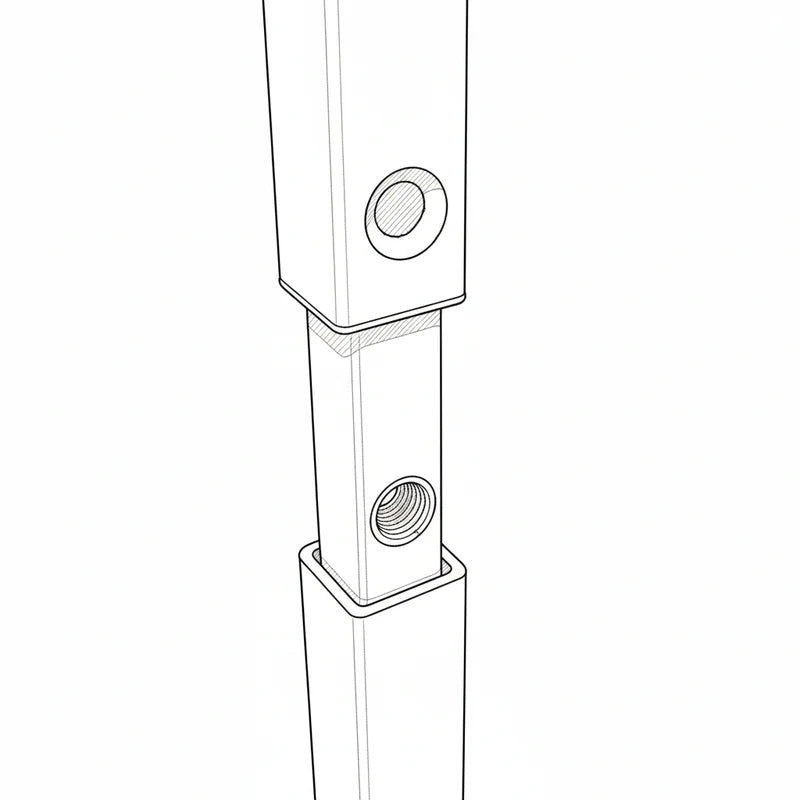
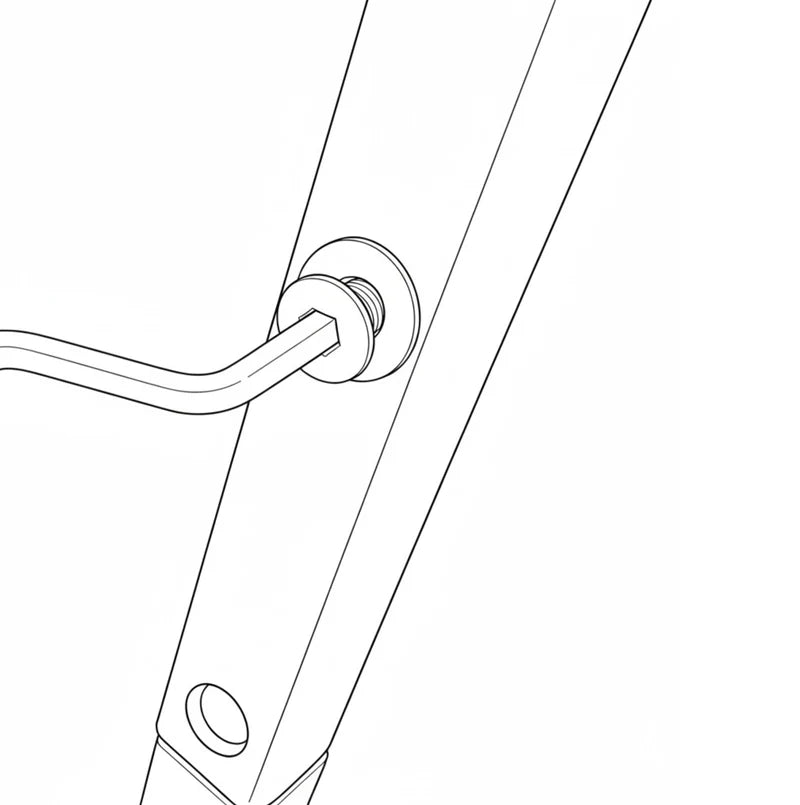
3. Attach the two legs and the connecting bars using the long bolts.
(Tighten with the included Allen wrench.)
Position the legs so that the wider side of the hole faces outward when inserting the bolts.
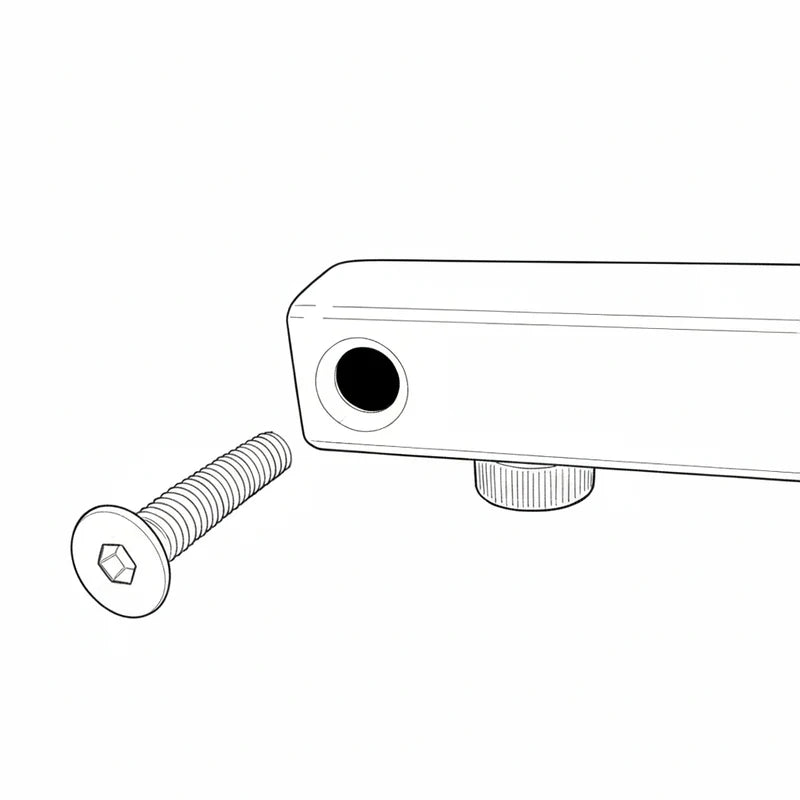
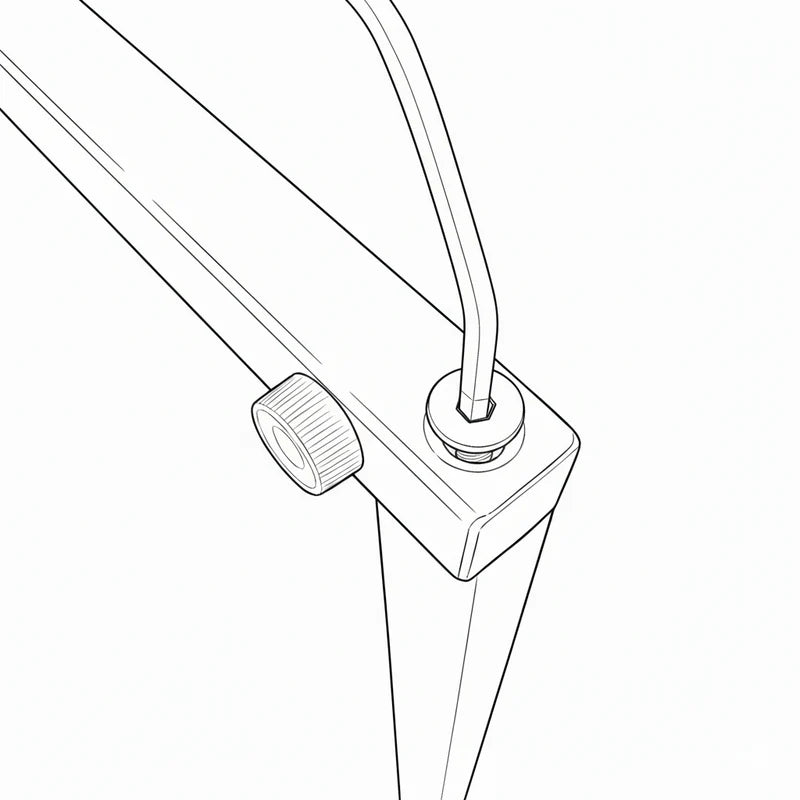
4. Stand up the assembled legs, insert the top section from above, and secure it with the short bolts.
*Note: The wider side of the holes should face inward for this step.
5. Use the included magnets to attach your poster, and assembly is complete.
⚠️Recommended Posters
* If placing the stand in direct sunlight, we recommend creating your poster using magnet sheets, waterproof paper, or light-blocking synthetic paper.
* If you are using regular paper and are concerned about transparency (light showing through), we recommend applying a light-blocking sheet or film to the back.
*Note: If the stand is unstable depending on the surface where it is placed, please adjust the height using the 4 adjusters.