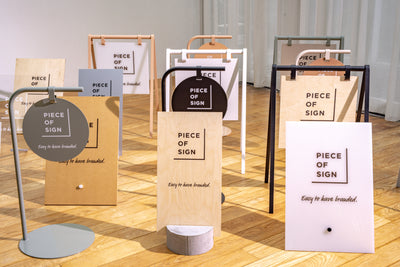

Barricade Sign
⚠️ Usage & Installation Precautions
Depending on the production batch, the shape of the mounting hardware at the top of the legs may vary slightly;
however, this does not affect product strength, quality, or assembly instructions.
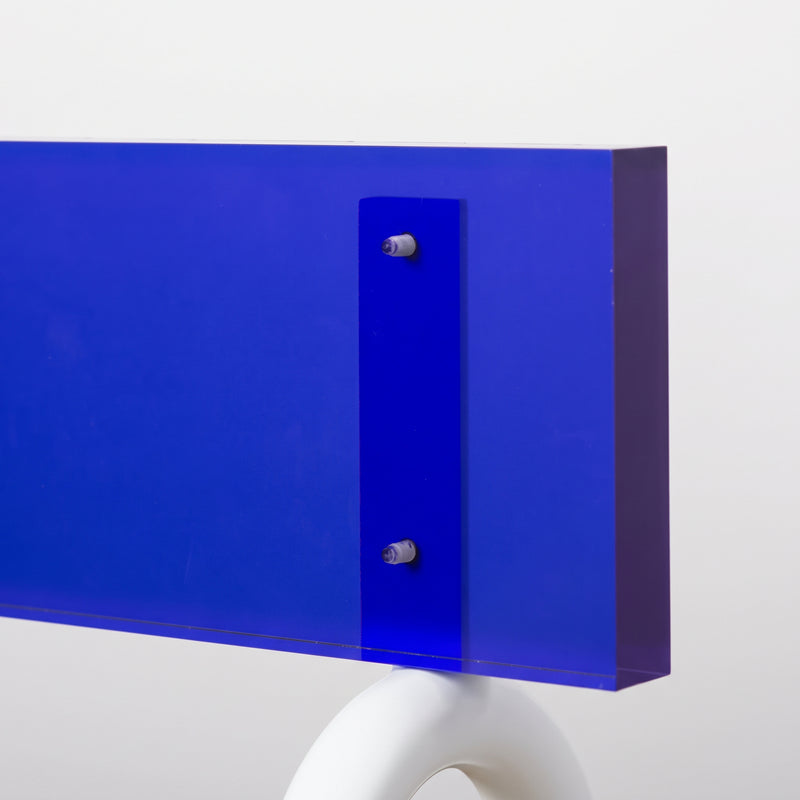
Due to the nature of the acrylic material, the mounting screws will be visible through the front surface of the acrylic plate.
Thank you for your understanding.
■ Package Contents
- Sign Plate × 1
- Leg Parts × 2
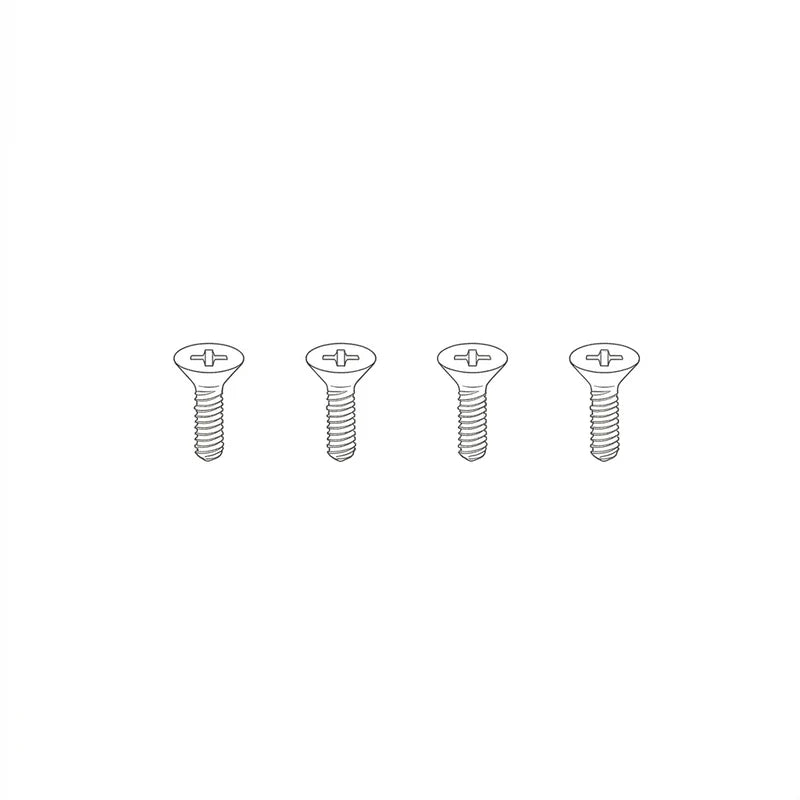
- Countersunk Screws (Mounting screws) × 4
■ Assembly Instructions
- Check Plate Orientation
Front & Back: The unprinted surface is the back side.
Top & Bottom (for Steel Plates): The bottom edge (facing the ground) features two drainage holes, one on each side. - Position the Legs and Plate
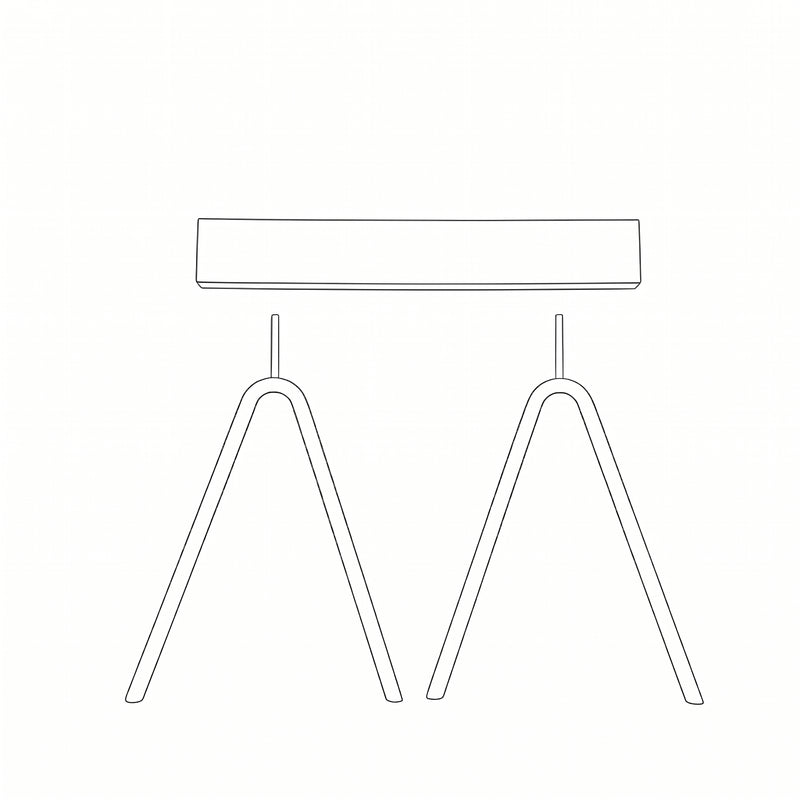
Align the screw holes of the leg parts with the screw holes on the back of the sign plate as shown in the diagram below.
*Countersunk Side (Screw insertion side): The surface with beveled indentations around each hole, designed so the screw head sits completely flush. - Secure with Screws
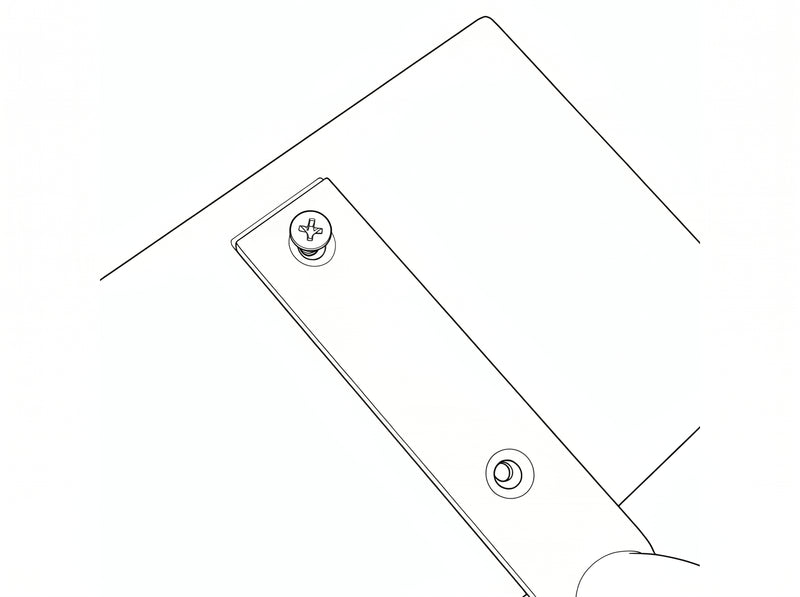
Insert the countersunk screws from the countersunk side and tighten them to secure.
Fasten two points (top and bottom) per leg—a total of four points—to complete the assembly.
⚠️ For Customers with an Acrylic Plate:
Please take care not to overtighten the screws. Excessive tightening may cause the acrylic to crack.
Fasten the screws gently by hand (the use of an electric screwdriver is not recommended).
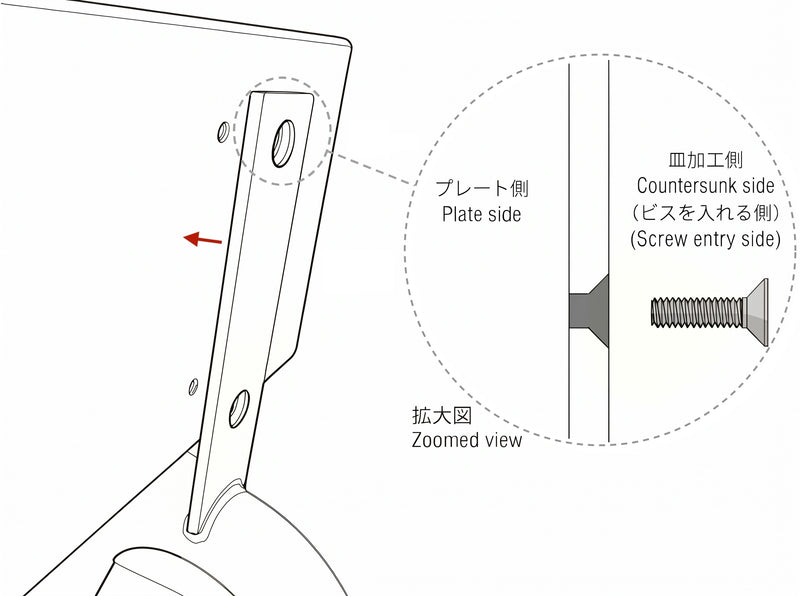
Secure the two upper and lower points from the countersunk side.
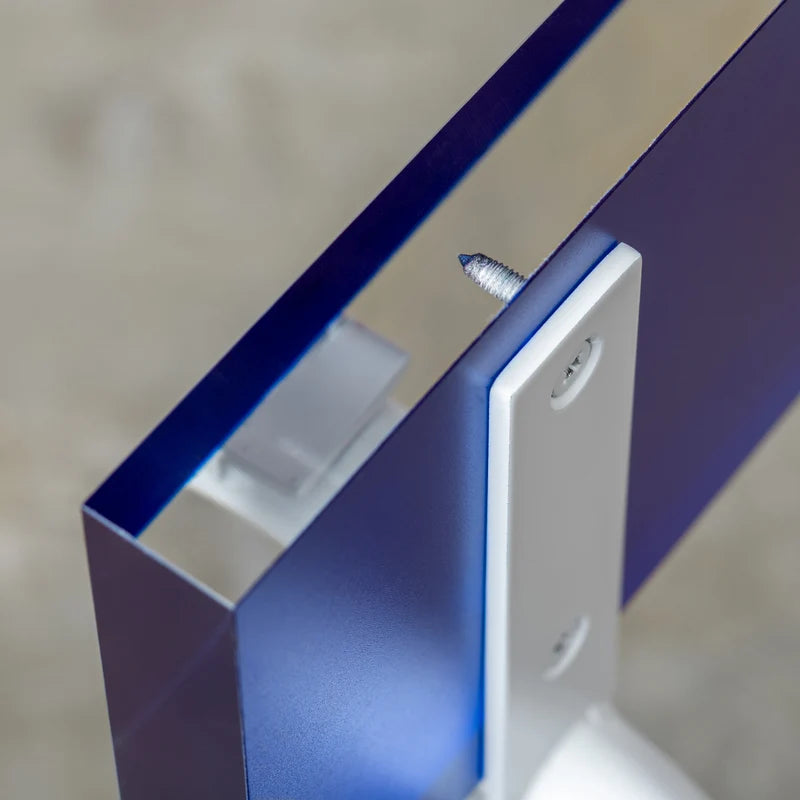
For acrylic plates, the screws are visible through the front surface.